
Last updated September 22, 2026
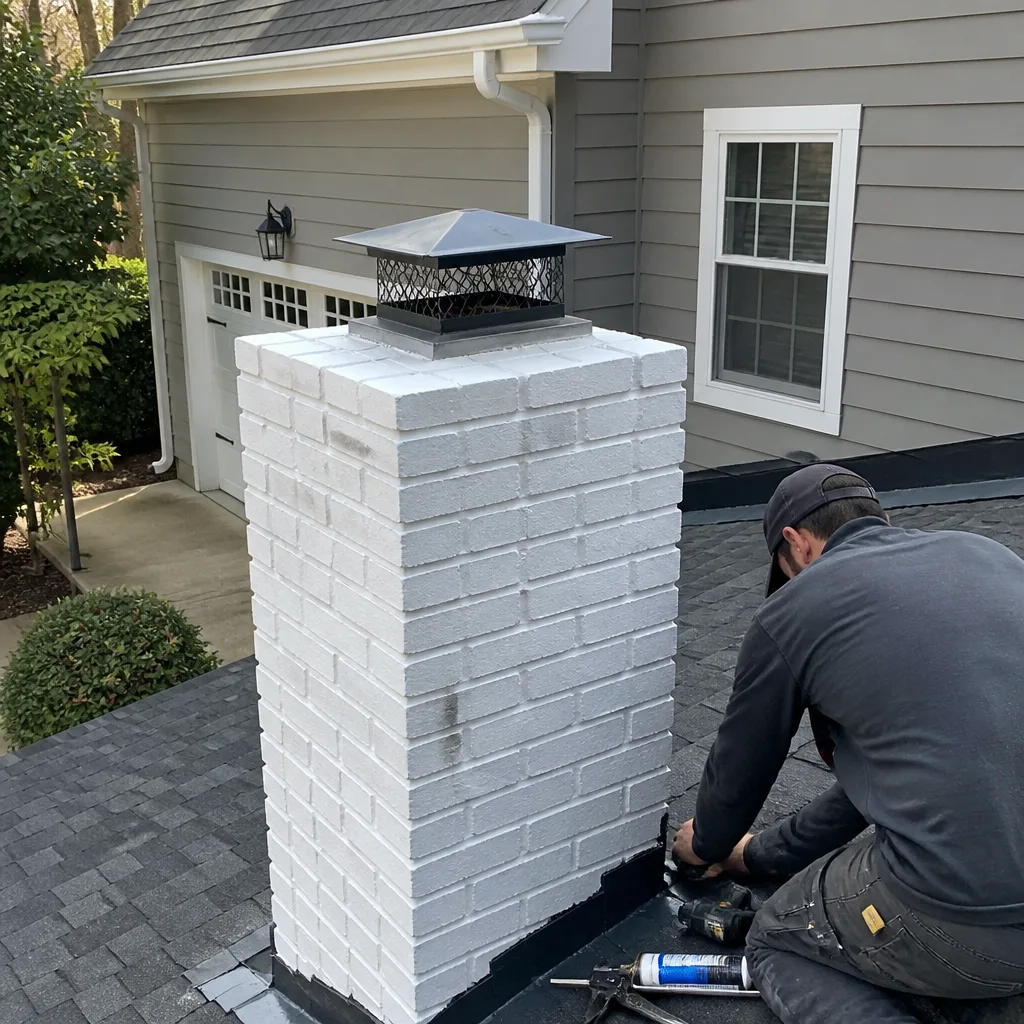
Level 1 sweep and inspection to the NFPA 211 annual standard - flue, crown, cap, and flashing checked and photographed
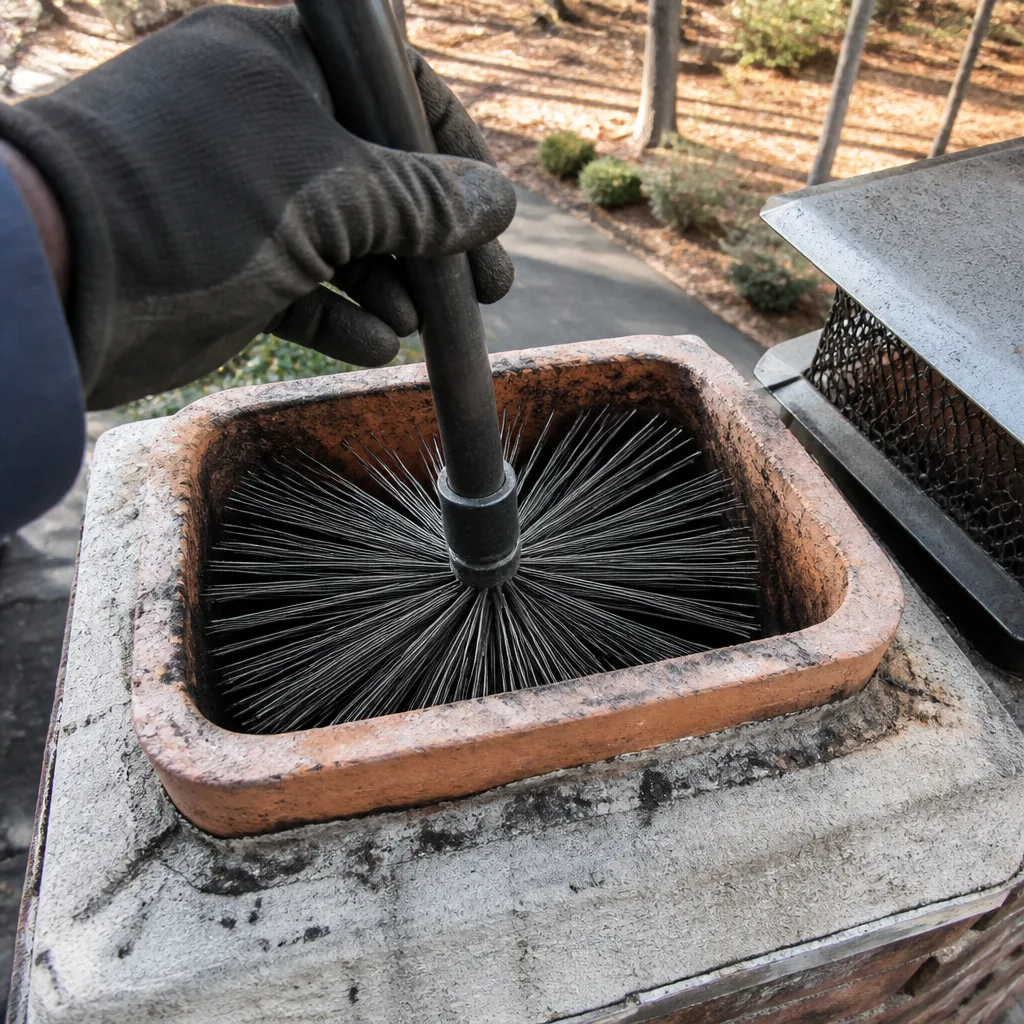
Chimney sweep logs do not sweep chimneys. They loosen some creosote - which then falls where a brush and vacuum still have to collect it.
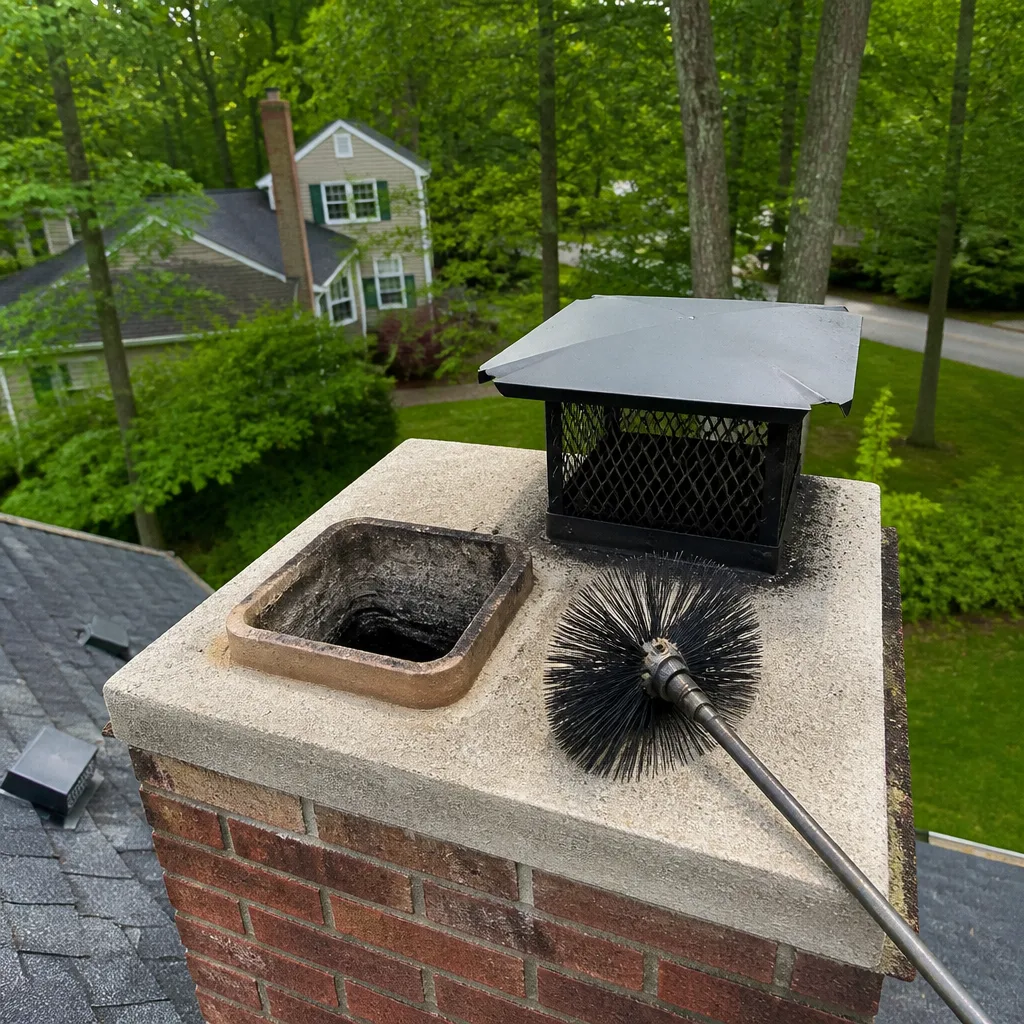
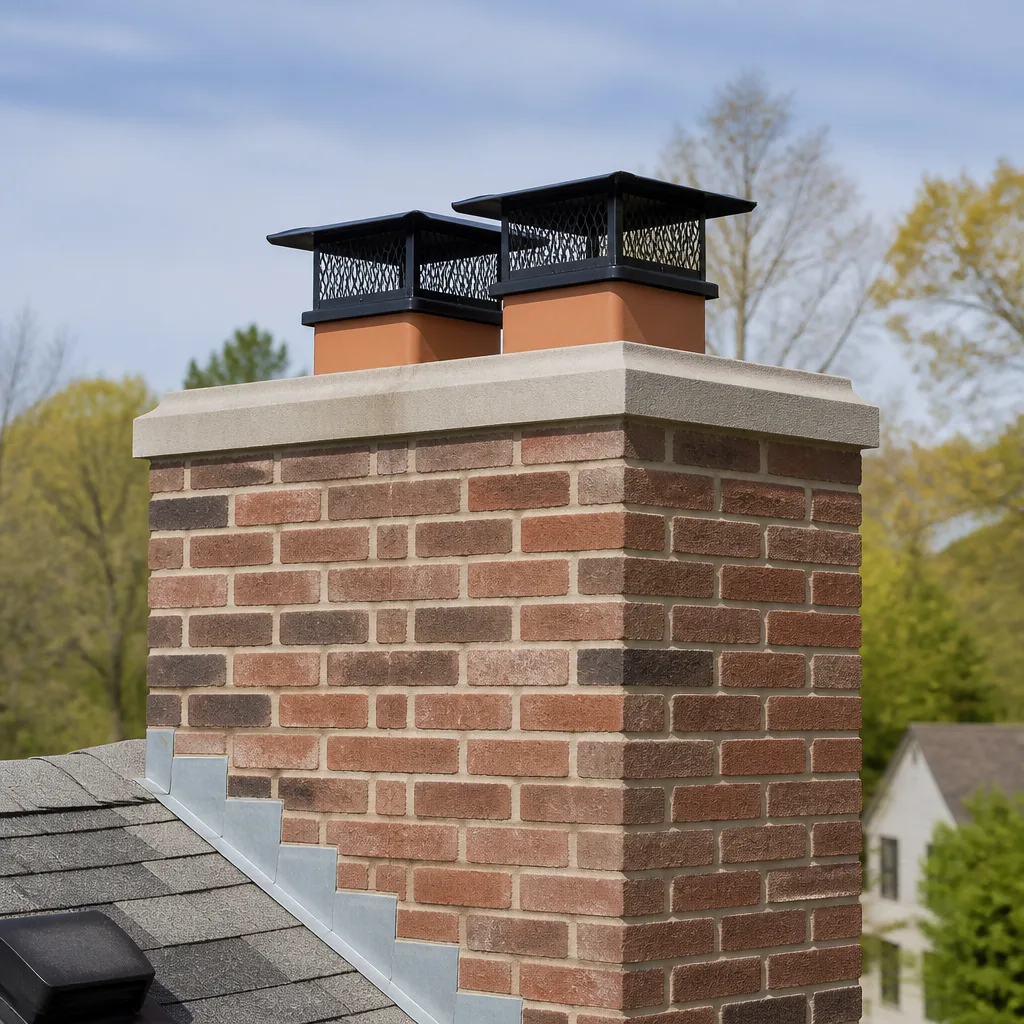
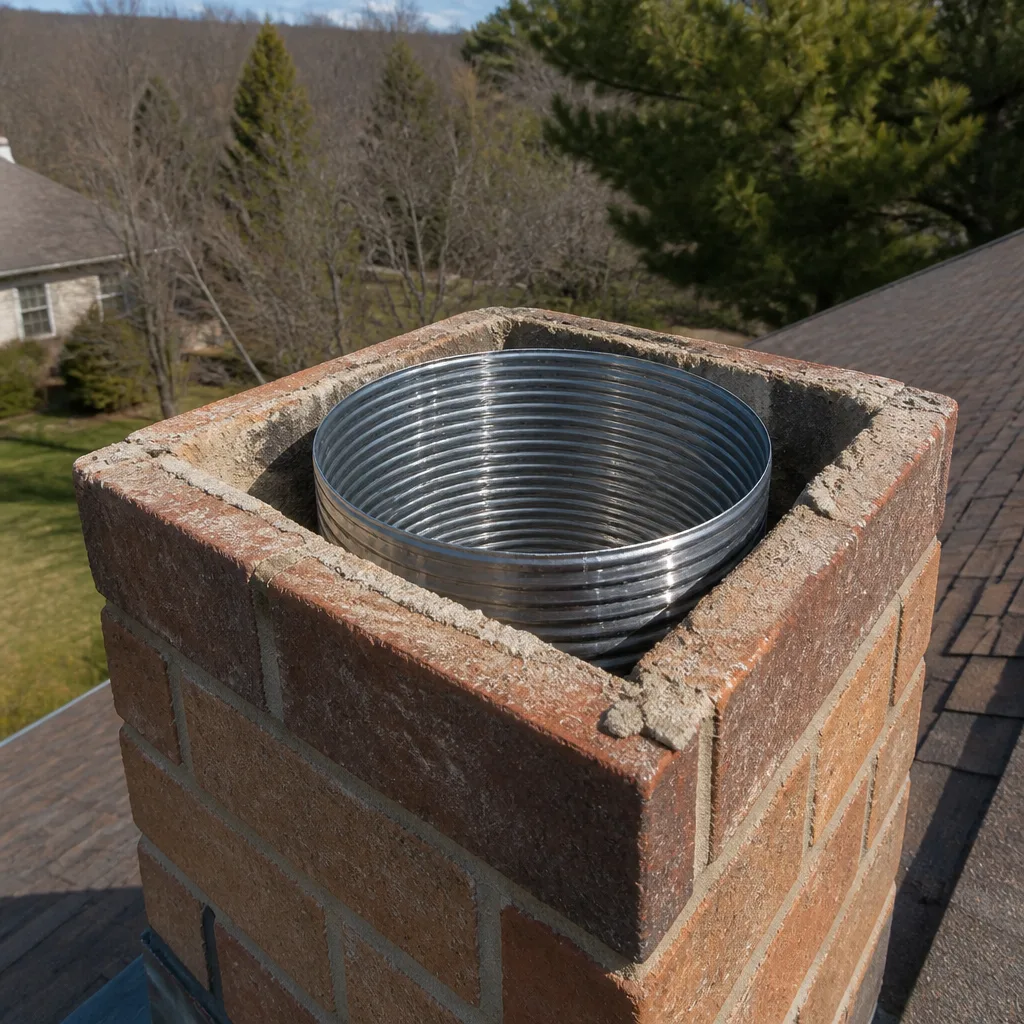
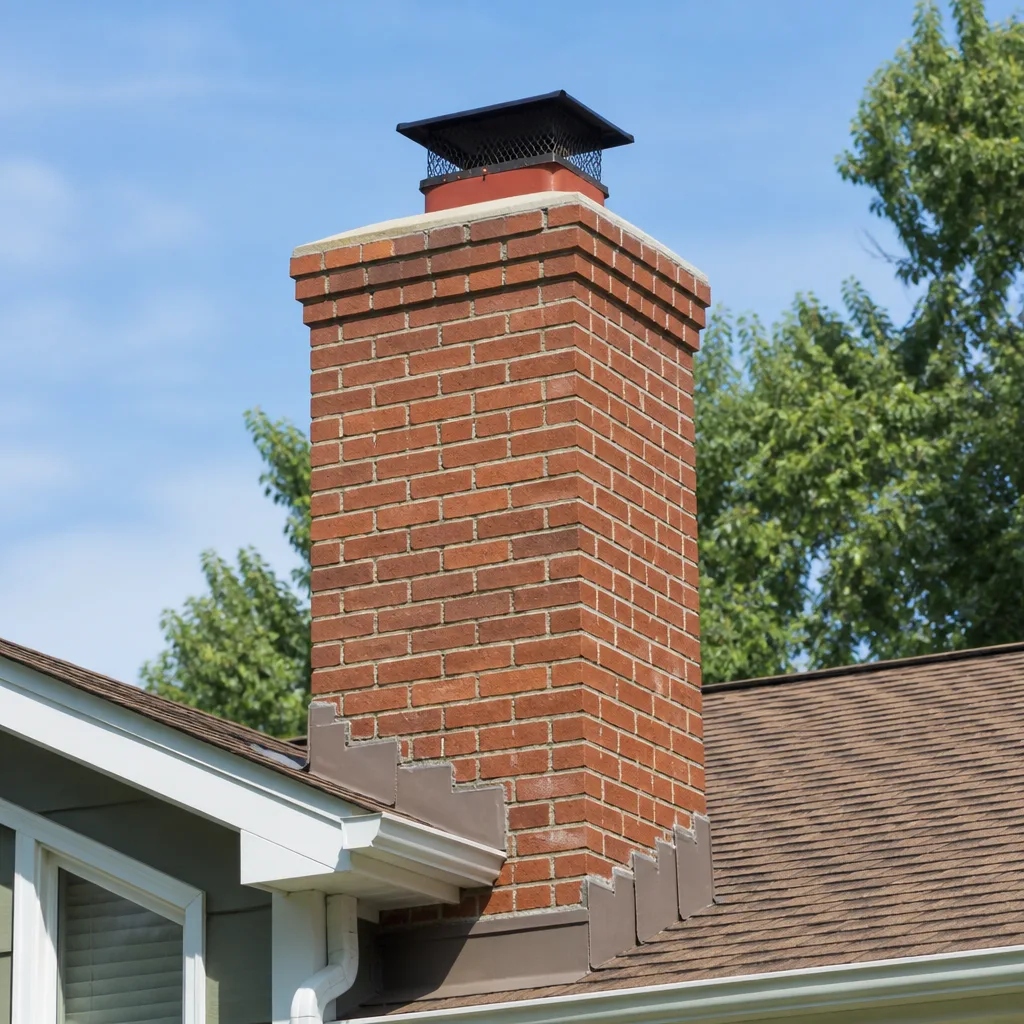
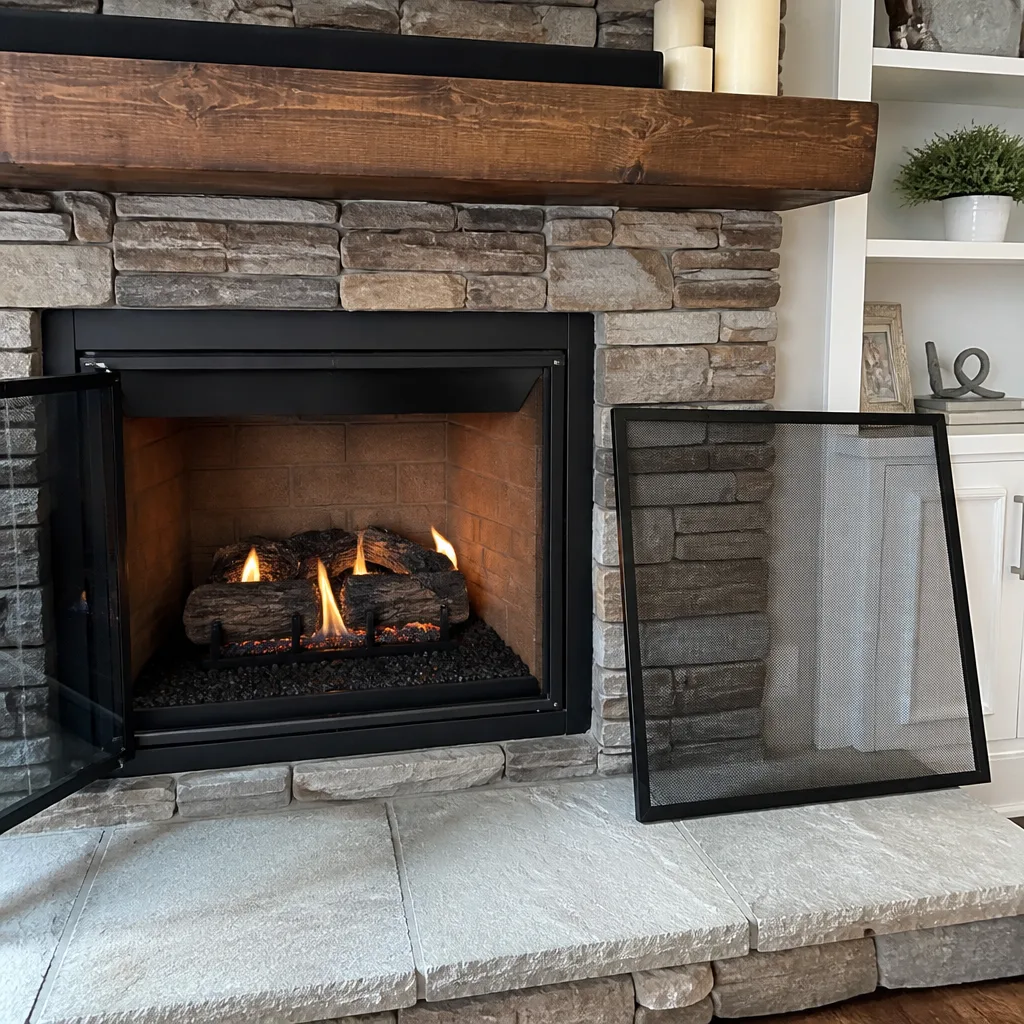
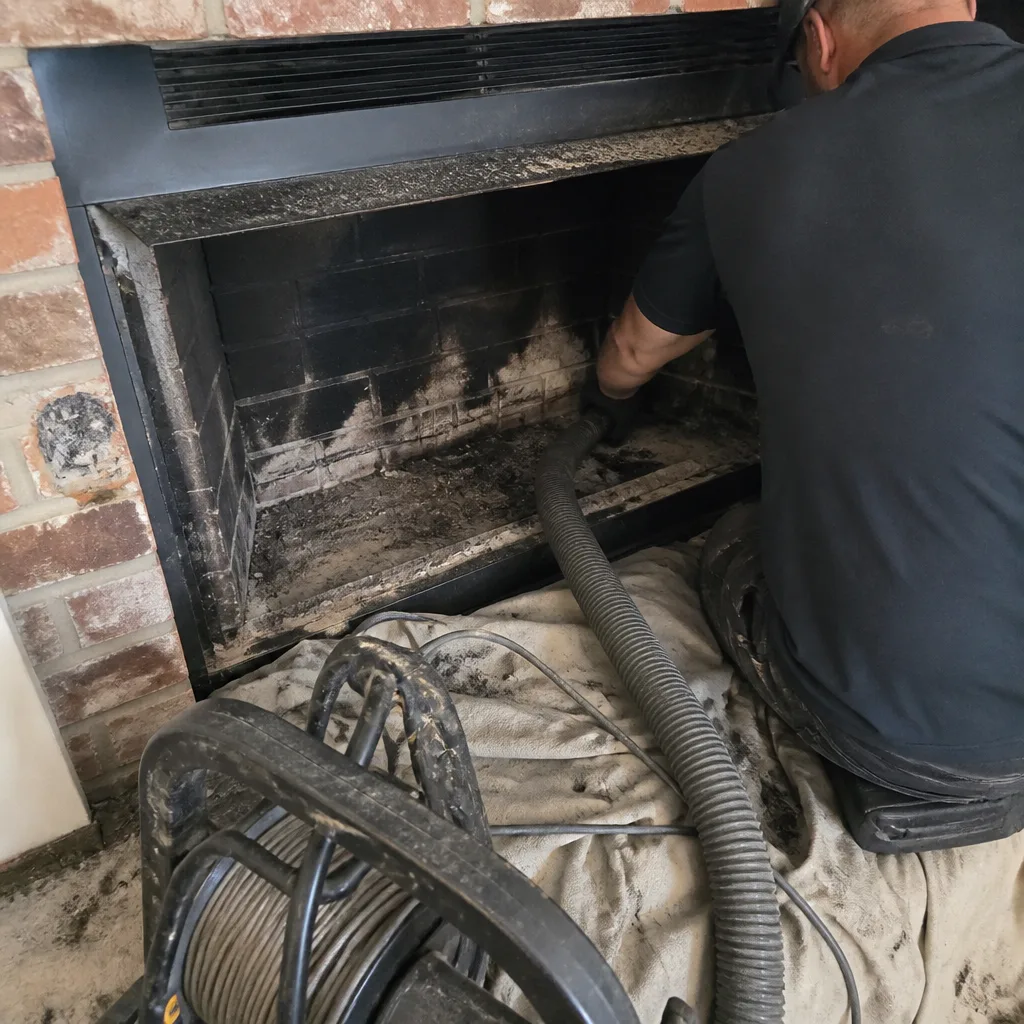 Before
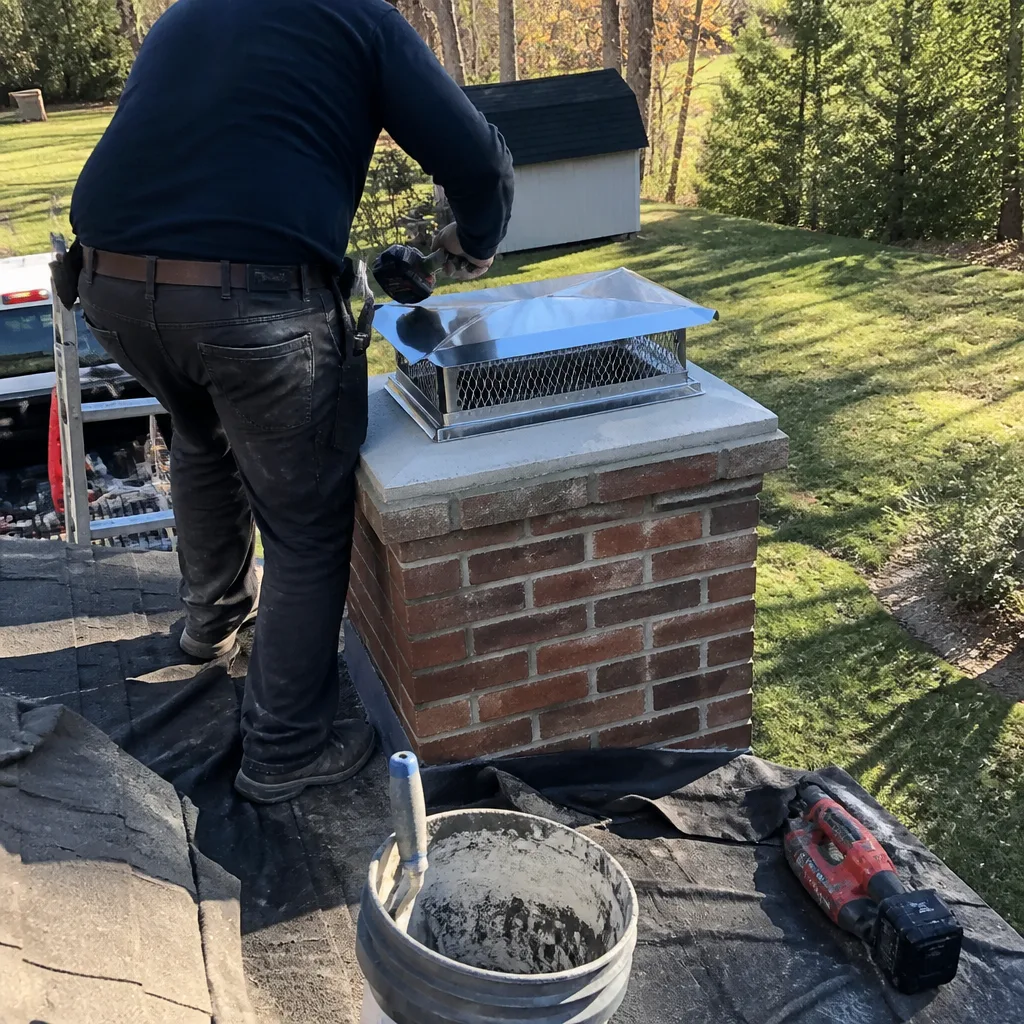 After
After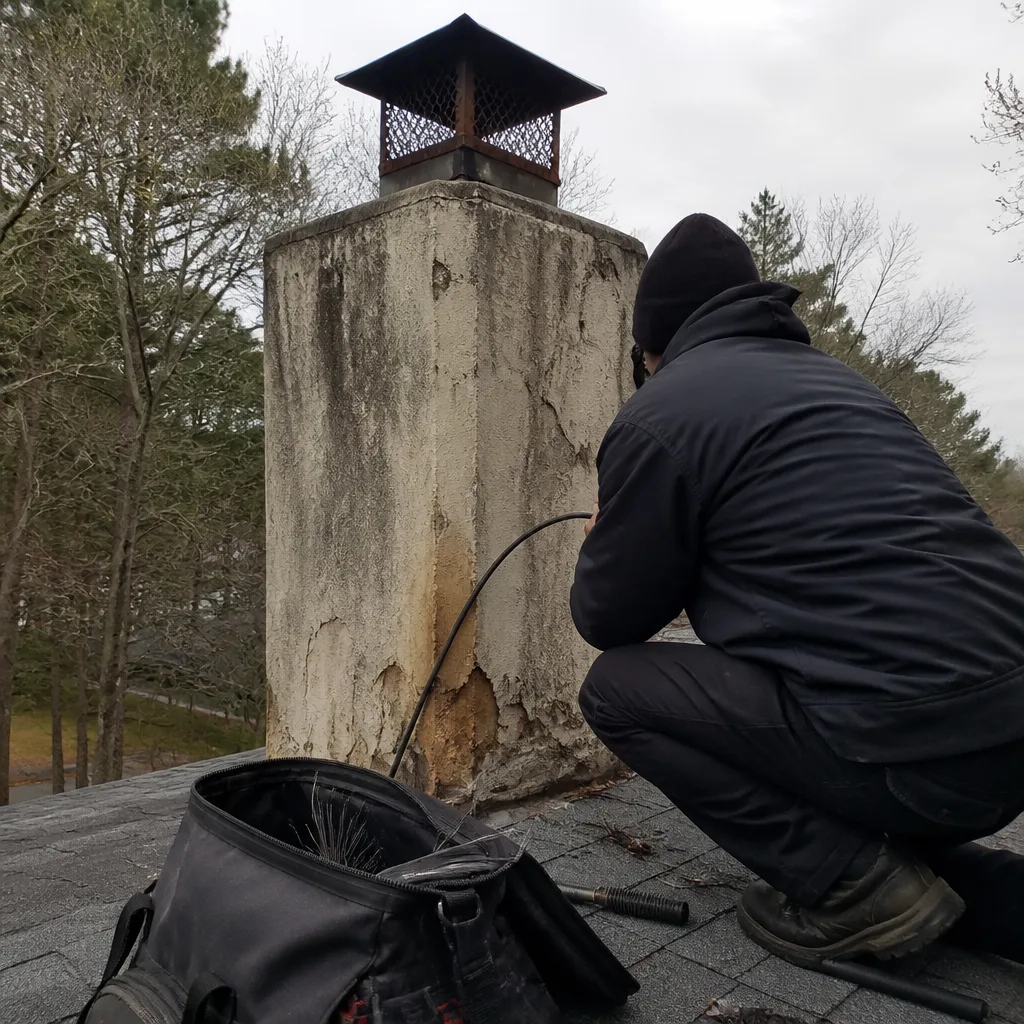 Before
 After
After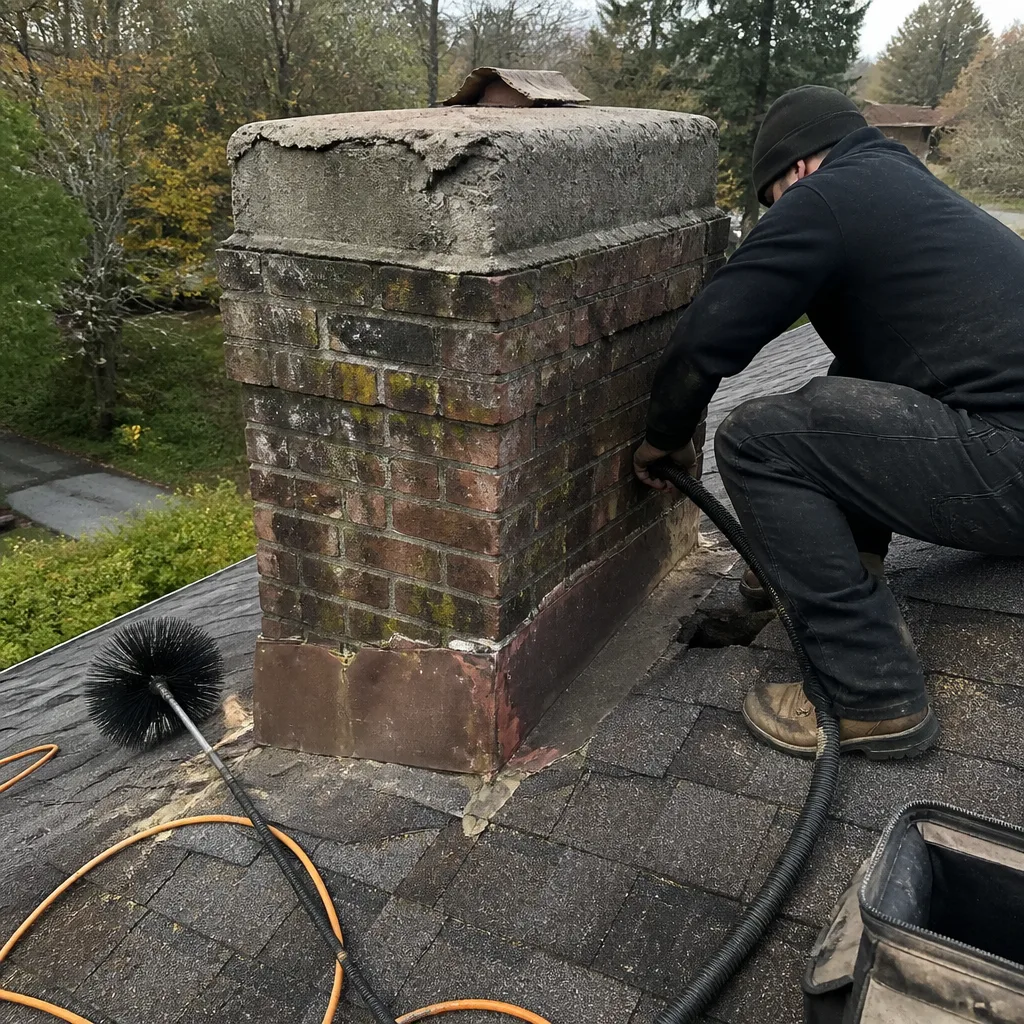 Before
 After
AfterChimney Sweep Maintenance Checklist for Alpharetta Homeowners
The most common chimney maintenance mistake isn’t skipping a task - it’s completing it without knowing what a bad result looks like, so problems get checked off instead of caught. In Alpharetta, we’ve seen homeowners diligently clear their fireboxes every spring while missing cracked flue liners that let combustion gases seep into wall cavities. This checklist changes that. Each item includes specific pass/fail criteria so you’ll know whether your chimney is actually safe, not just tidied up. We’ve built this from 38,000+ inspections since 2009, including thousands in Forsyth and Fulton counties where Alpharetta’s clay-heavy soil, summer humidity swings, and dense oak canopy create conditions you won’t find in generic national guides.
Quick Answer
A proper chimney maintenance checklist for Alpharetta homeowners covers three seasonal inspections (pre-season, mid-season, post-season) with pass/fail criteria for eight critical components: flue liner, damper, smoke chamber, firebox, crown, cap, exterior masonry, and clearances. Most homeowners can self-assess visible items like the damper operation and firebox condition, but flue liner integrity and smoke chamber evaluation require an NFPA 211 Level 2 camera inspection, which Chimney Sweep in Alpharetta includes as standard on every visit.
Table of Contents
- Why Most Chimney Checklists Fail Homeowners
- Pre-Season Checklist: August-October in Alpharetta
- Mid-Season Checklist: November-February
- Post-Season Checklist: March-April
- Damper Assessment: Tactile and Visual Pass/Fail Criteria
- How to Document Findings With Phone Photos
- Alpharetta-Specific Risks: Pollen, Oak Debris, and Humidity
- DIY vs. Professional: Honest Boundaries
BeforeAfterWhy Most Chimney Checklists Fail Homeowners
Generic checklists tell you to “inspect the flue” without defining what inspection means. A flashlight glance from the firebox bottom? A mirror on a stick? Neither meets the NFPA 211 standard that your homeowner’s insurance policy probably references. In our experience across Alpharetta neighborhoods from Windward to Downtown Alpharetta, we’ve documented chimneys that passed a homeowner’s annual “inspection” for six consecutive years while accumulating hazardous Class III glazed creosote - the hard, tar-like deposit that ignites at temperatures as low as 450°F and burns hot enough to crack clay flue liners.
The failure pattern is predictable. A checklist item reads “check for creosote buildup.” The homeowner sees black residue, assumes that’s normal, and moves on. They don’t know that creosote progresses through three stages: fluffy soot (Class I), crunchy flakes (Class II), and the glazed, hardened layer (Class III) that requires chemical treatment or rotary removal. Without pass/fail criteria, the checklist becomes a ritual of false confidence.
Another failure mode: checklists omit documentation requirements. When you sell your Alpharetta home - and the average ownership span in this market is 5-7 years - buyers and their insurers increasingly request chimney inspection records. A checklist with dated photos and observations becomes a transferable asset. A mental note does not.
Our approach: every item below specifies what passing looks like, what failing looks like, and what documentation to capture. We’ve organized this around Alpharetta’s actual burning season, which typically runs from first frost (mid-November) through late March, with occasional April cold snaps that catch the unprepared.
Pre-Season Checklist: August-October in Alpharetta
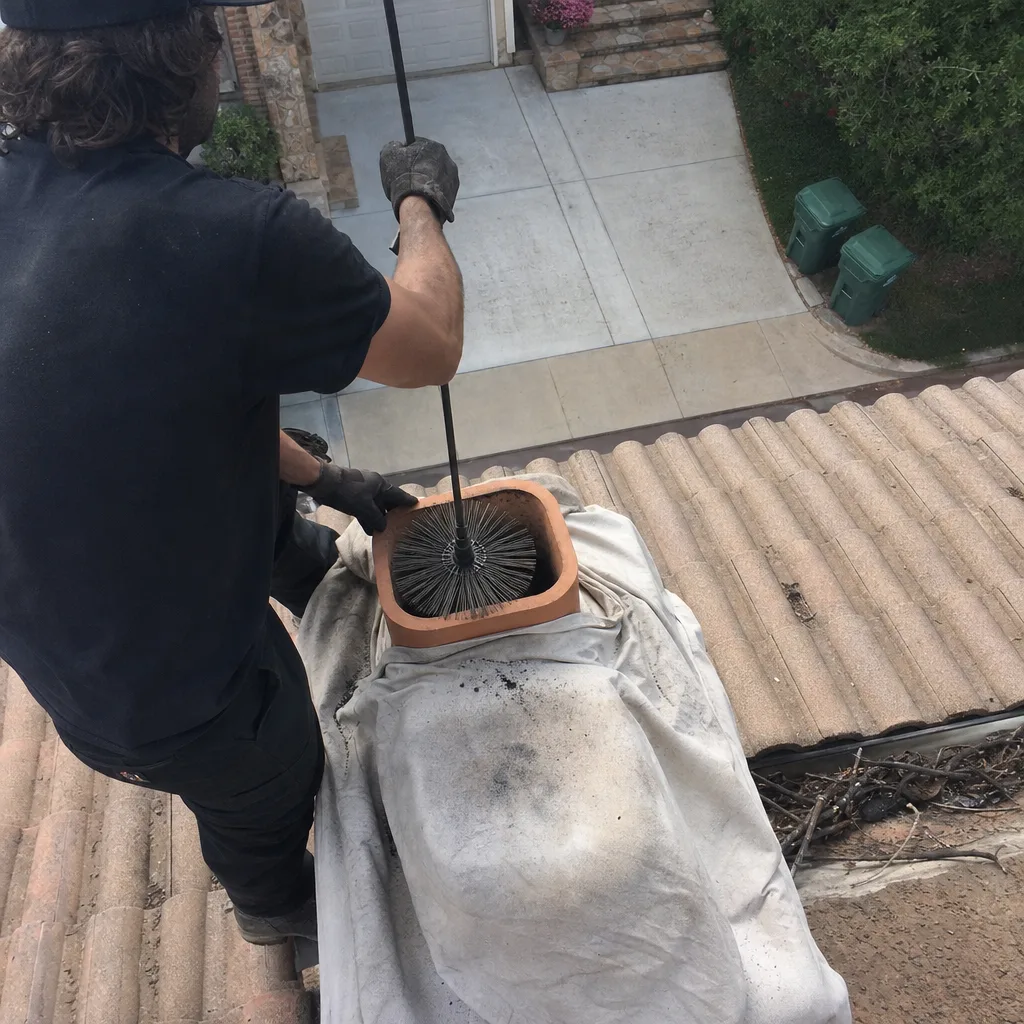
Alpharetta’s pre-season window is shorter than many homeowners assume. By mid-October, our schedule at Emberly Chimney Cleaners Alpharetta home typically books 10-14 days out as neighborhoods from Crabapple to Milton prepare for first fire. Starting in August gives you time to address findings without rush fees or weather delays.
Exterior Components (Ground-Level Assessment)
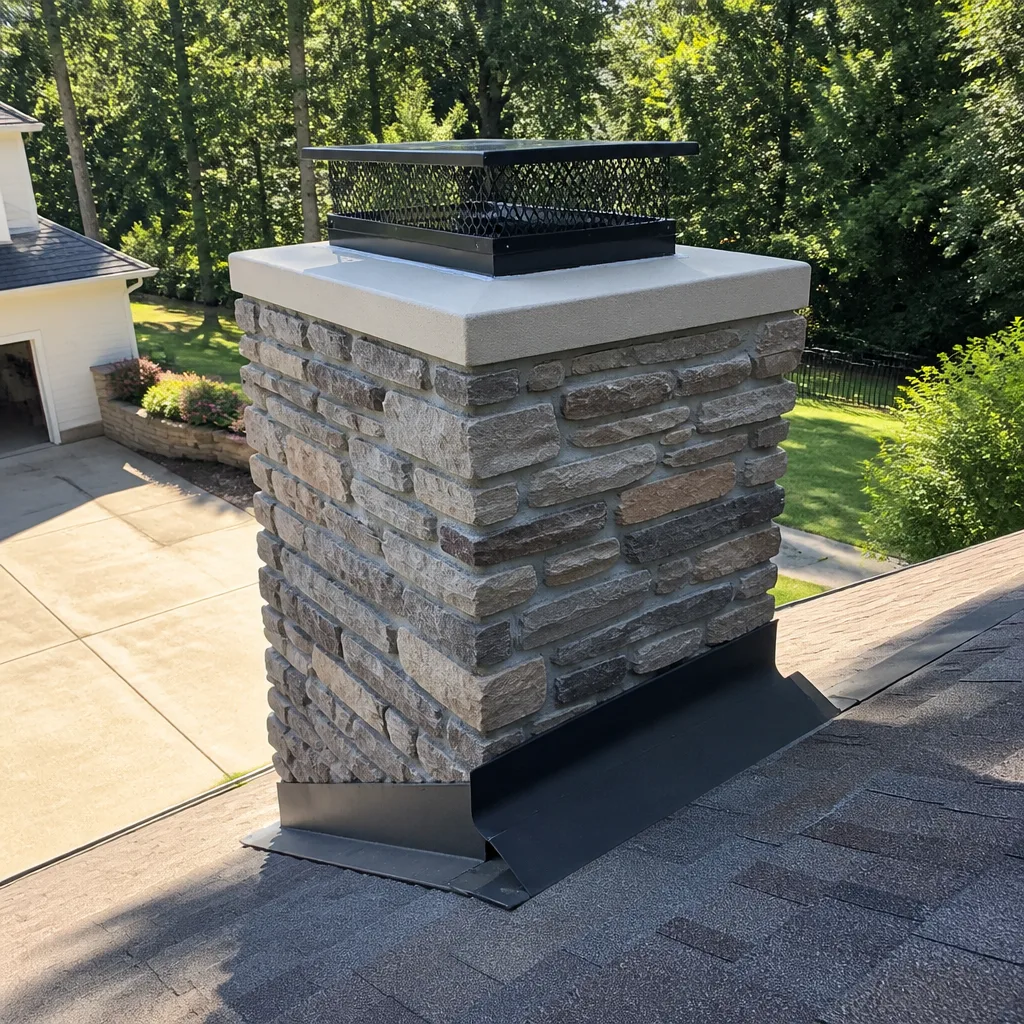
- Crown condition. Pass: continuous concrete or mortar cap with no visible cracks wider than 1/16 inch, sloped to shed water, overhanging the masonry by at least 2 inches. Fail: any crack that accepts a dime’s edge, pooling after rain, or spalling (flaking) concrete that exposes aggregate. Document: photo from ground level showing full crown profile; close-up of any crack with a dime or ruler for scale.
- Cap and spark arrestor. Pass: secure attachment to flue tile or crown, mesh screen with 5/8-inch or smaller openings, no rust-through, no visible gaps between cap and flue. Fail: missing mesh, holes larger than 3/4 inch, cap tilted or loose, staining on brick below cap indicating water intrusion. Document: zoom photo from ground; if accessible safely from a ladder, photo of attachment points.
- Exterior masonry and mortar joints. Pass: mortar joints recessed no more than 1/4 inch, no efflorescence (white powder) below the roofline, no bricks with faces spalling deeper than 1/4 inch. Fail: mortar missing to finger depth, stair-step cracks in corners, bricks with exposed inner core, vegetation growing from joints. Document: wide shot of each elevation; close-ups of any spalling or cracked areas.
- Flashing and cricket. Pass: metal flashing sealed with no gaps where chimney penetrates roof; cricket (the small roof behind chimney on upslope side) present if chimney width exceeds 30 inches. Fail: lifted flashing edges, caulk separation, visible daylight from attic, missing or undersized cricket causing water pooling. Document: roof-level photo if safely accessible; otherwise, attic inspection photo showing penetration from inside.
Interior Components (Firebox and Throat)
- Firebox brick and mortar. Pass: all firebrick faces intact, mortar joints flush or slightly recessed, no gaps between brick and smoke chamber above. Fail: cracked or missing firebrick, mortar eroded to 1/2-inch depth or more, gaps that reveal framing or insulation. Document: photo from each corner showing all walls; close-up of any damage with flashlight illuminating depth.
- Damper operation. Pass: opens fully without binding, closes to near-light-tight seal, control mechanism secure with no play. Fail: stuck or grinding operation, visible daylight or draft when closed, broken handle or missing parts, rust flakes falling when operated. Document: video of full open-close cycle; photo of closed damper from below with flashlight test for gaps. (See detailed damper assessment below.)
- Smoke chamber (visible portion). Pass: smooth parged (coated) surface from damper to flue, no exposed brick corbelling, no debris accumulation. Fail: corbelled brick steps visible (the stair-step construction common pre-1980), significant soot buildup, cracked or missing parging. Document: photo upward from firebox with widest angle possible; note that full smoke chamber assessment requires camera inspection.
Pre-Season Documentation Summary
Before first fire, you should have: dated photos of crown, cap, exterior masonry, firebox, and damper; written notes on any “fail” items; and a scheduled professional inspection if any interior component fails or if the chimney hasn’t had an NFPA 211 Level 2 inspection within 12 months.
Mid-Season Checklist: November-February
Mid-season checks focus on performance and safety during active use. Alpharetta’s winter temperature swings - 20°F overnight lows followed by 50°F afternoons - create thermal cycling that stresses masonry and metal components differently than sustained cold.
After Every 10 Fires (or Monthly, Whichever Comes First)
- Ash bed depth. Pass: 1-2 inches of ash insulating the firebox floor; removes easily with shovel. Fail: ash piled above firebrick line, wet or compacted ash, unusual odors indicating moisture intrusion. Document: photo of ash depth before cleaning; note date and fire count.
- Smoke behavior. Pass: smoke draws immediately up flue with no spillage at firebox opening; no odor in upstairs rooms when damper is open. Fail: smoke rollout at startup (after 5-minute preheat), smoke odor in adjacent rooms, visible smoke staining on mantel or surround. Document: video of smoke behavior at fire start; photo of any new staining.
- Exterior chimney temperature. Pass: exterior masonry warm but not hot to touch; no unusual heat at wall or ceiling penetrations. Fail: hot spots on exterior brick, heat detectable at interior wall surfaces, discolored paint or wallpaper near chimney chase. Document: infrared thermometer reading if available; photo of any discoloration. This is a critical safety item - exterior heat indicates liner breach or improper clearance.
After Severe Weather Events
Alpharetta experiences ice storms and occasional snow accumulations that stress chimney structures. After any event with freezing rain or 2+ inches of snow:
- Check cap and crown for new cracks from ice expansion
- Verify no blocked flue from wind-driven debris
- Inspect attic around chimney penetration for leaks
Mid-Season Professional Trigger Points
Call for inspection before continuing use if: smoke behavior changes suddenly; you hear falling debris in flue; exterior masonry shows new cracks; or any fire produces unusual odors or sounds. These are not “watch and wait” items.
Post-Season Checklist: March-April
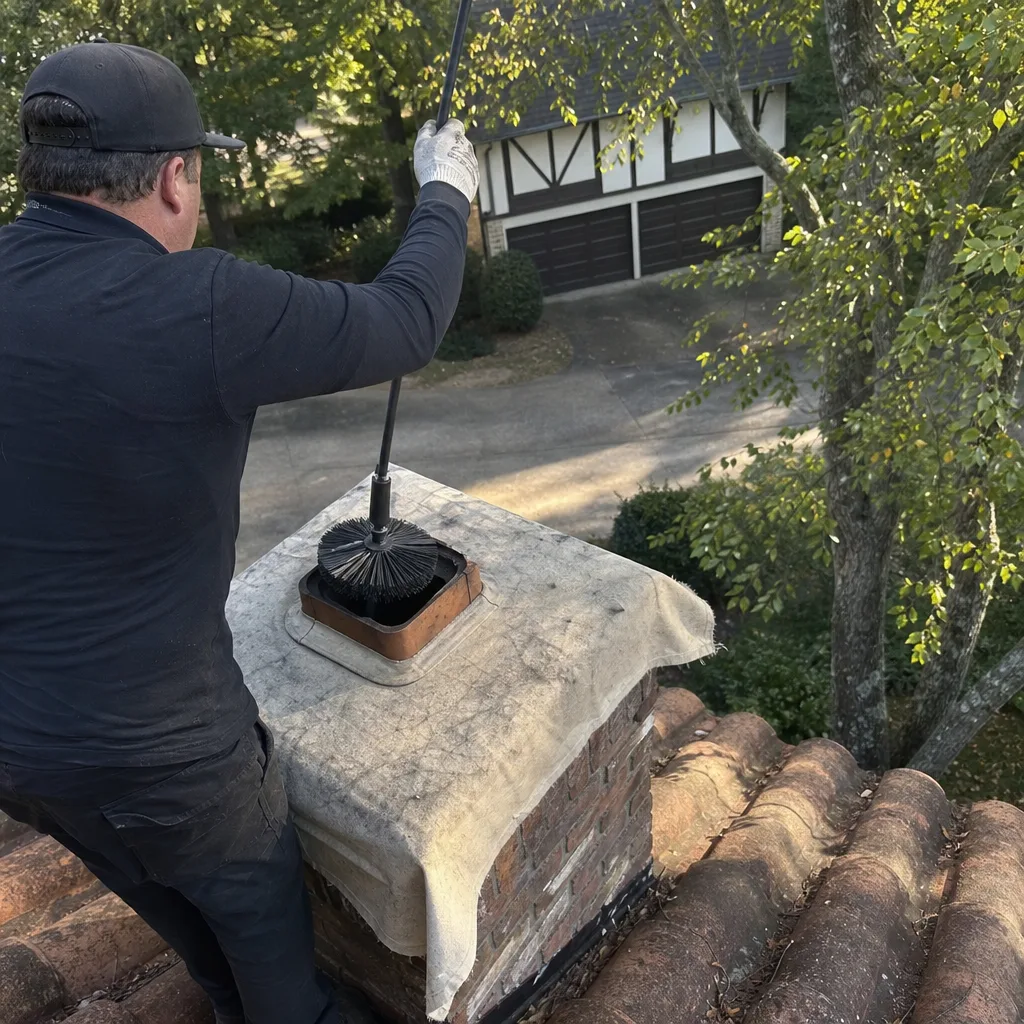
The post-season inspection captures wear from the burning season and prepares the system for Alpharetta’s humid summer, when moisture intrusion causes more damage than winter fires. We’ve replaced more fireboxes and smoke chambers in July and August than in December - the damage was done by summer humidity acting on creosote residues and cracked mortar.
Final Fire and Cool-Down Protocol
- Allow final fire to burn completely to ash; do not extinguish with water (thermal shock cracks firebrick)
- Wait 72 hours minimum before any interior inspection - masonry retains heat longer than it feels
- Remove all ash to metal container with tight lid; store outside away from structures
Post-Season Assessment Items
- Creosote accumulation measurement. Pass: less than 1/8-inch buildup on flue walls (visible from below with flashlight and mirror). Fail: 1/4-inch or greater; glazed, shiny, or tar-like deposits; any buildup that reduces flue opening dimension. Document: photo with ruler or known object for scale; note location (smoke chamber, flue, cap connection). This determines whether summer cleaning is needed or can wait until pre-season.
- Firebox condition after full season. Pass: no new cracks or spalling since pre-season; mortar joints similar to October baseline. Fail: new cracks wider than hairline; bricks with faces loosened or lost; mortar significantly eroded. Document: comparison photos with pre-season shots.
- Damper and throat closure. Pass: damper closes fully; throat damper (if present) seals without gaps; no rust flakes or debris falling when operated. Fail: binding, incomplete closure, or new noise. Document: video of operation; photo of closed position.
- Exterior reassessment. Pass: no new damage since October; crown and cap intact; no vegetation growth. Fail: any new cracks, displaced cap, or mortar degradation. Document: photos matching pre-season angles for comparison.
Summer Preparation
Close damper to reduce humidity intrusion, but do not seal flue completely - some airflow prevents condensation. If you have a top-sealing damper (common in Alpharetta homes built 2000+), verify it seals without trapping moisture below. Install chimney cap if missing; Alpharetta’s summer storms drive rain directly into uncapped flues.
Damper Assessment: Tactile and Visual Pass/Fail Criteria
The damper is the most frequently operated chimney component and the most commonly misdiagnosed. “Seems fine” covers a range of conditions from safe to hazardous. Here’s what to actually check.
Throat Damper (Metal Plate Above Firebox)
Tactile test: Open fully - should move freely through full arc with consistent resistance, no grinding or catching. Close fully - should seat with a soft metallic click, not a clang or grind. The handle or knob should have no play; wobbling indicates worn linkage that may fail to open during a fire or fail to close when needed.
Visual test from below: With damper closed and room darkened, shine flashlight upward. Pass: no visible light gaps wider than 1/16 inch; plate sits flat without visible warp. Fail: daylight visible around edges; plate visibly bowed or corroded; rust flakes on firebox floor below.
Visual test from above (if accessible): Pass: plate surface smooth with no pitting through to base metal; edges align with frame. Fail: holes or severe pitting; edges that no longer mate with frame; missing sections from corrosion.
Top-Sealing Damper (Cap Mounted on Flue Top)
Common in Alpharetta’s 1990s-2000s construction. Operated by cable from firebox.
Tactile test: Cable pulls smoothly with consistent resistance; no binding or slack that indicates cable fray. Pass: full open and close with cable tension maintained. Fail: cable slips, requires excessive force, or has visible fraying at connection points.
Visual test: From ground, cap should open symmetrically when activated; no tilt or stuck sections. Closed position should show continuous seal around flue perimeter. Fail: asymmetric opening, visible gaps when closed, cap that doesn’t return to fully open position.
When Damper Condition Dictates Action
Replace or repair when: any corrosion has penetrated through metal; operation requires force that risks breaking control mechanism; or closure gap exceeds 1/8 inch (measurable heat loss, but more critically, inadequate seal against down drafts and animal intrusion). A failing damper is not an emergency unless it’s stuck closed during a fire, but it’s not a “next year” item either - conditioned air escapes year-round in Alpharetta’s climate.
How to Document Findings With Phone Photos
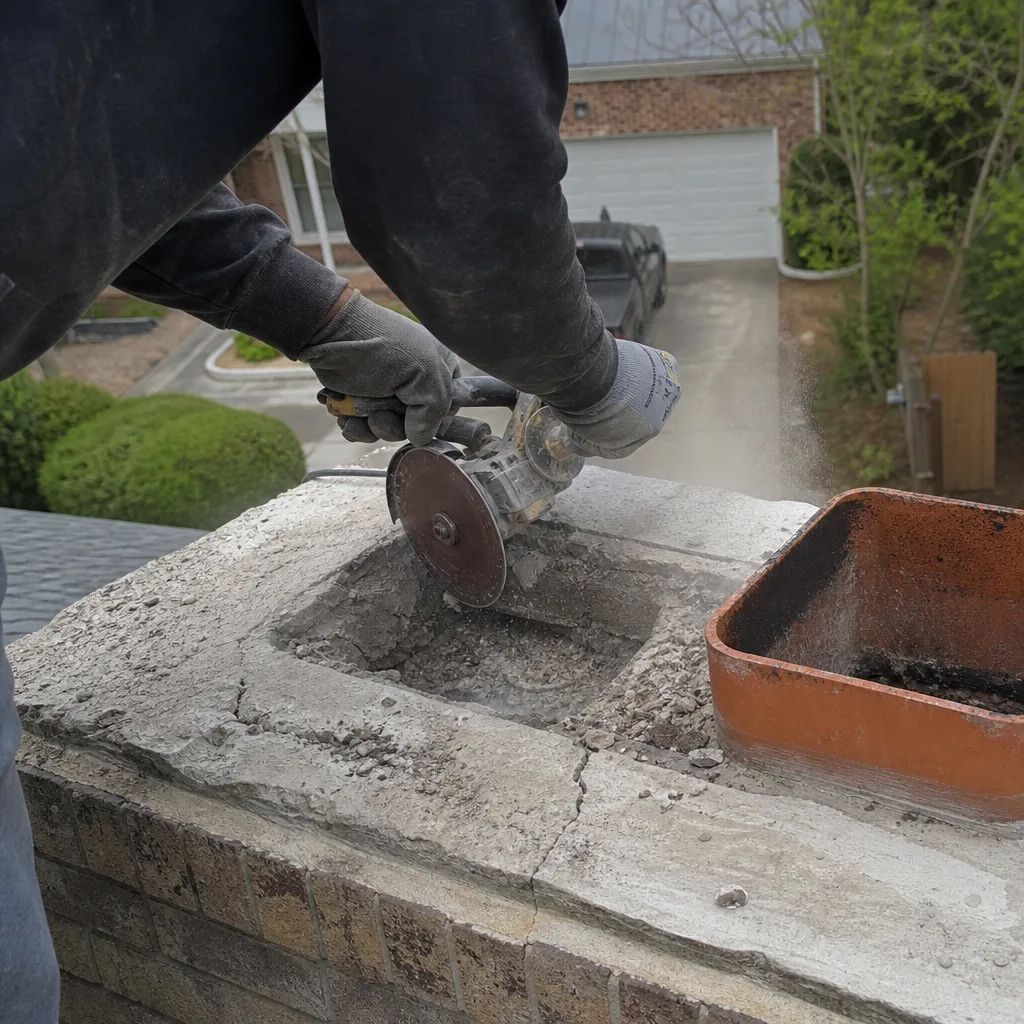
Your documentation serves two purposes: tracking condition over time, and providing useful information when you call a professional. Poor documentation wastes everyone’s time. Here’s how to make it valuable.
Photo Standards That Professionals Can Use
- Include scale. A crack photo without reference is uninterpretable. Place a dime, ruler, or common object in frame. For creosote, include a pencil or pen against the flue wall.
- Light the subject. Phone flash from directly behind the camera creates flat, shadowless images that hide depth. Angle flash or use side lighting to reveal texture and depth of cracks, spalling, or buildup.
- Capture context and detail. Every finding needs two photos: one showing location (full firebox, full crown), one showing detail (crack close-up). Without context, we can’t tell if we’re looking at a hairline crown crack or a separated flue tile.
- Date and annotate. Use phone’s date stamp or photo app that records it. Add text note with what you observed, not just what photo shows - “Damper stuck at 3/4 open, required force to close” carries information the photo doesn’t.
Organizing for Transfer to Professional
Create a single folder or album per inspection date. Name files descriptively: “2024-10-15_crown_crack_with_dime.jpg” not “IMG_7842.jpg.” When you schedule with Chimney Repair in Alpharetta, share the folder link or bring the phone - we’ll review during the pre-work consultation and reference specific images in our written scope.
Clause 4 of the Haven Standard requires our photo record on every job, but your historical photos add continuity we can’t otherwise obtain. A crack that grew from 1/16 inch to 3/16 inch over three years tells a different story than either measurement alone.
Alpharetta-Specific Risks: Pollen, Oak Debris, and Humidity
Generic checklists miss conditions that dominate Alpharetta’s chimney maintenance calendar. We’ve documented these patterns across inspections in neighborhoods from Avalon to Johns Creek border areas.
Pollen Accumulation on Crowns (March-May)
Alpharetta’s oak and pine pollen counts regularly exceed 3,000 grains per cubic meter - among the highest in the Southeast. Pollen settles on chimney crowns and, when dampened by spring rain, forms an acidic paste that accelerates concrete degradation. The failure mode: pollen accumulation in crown cracks prevents proper sealing, then acidifies rainwater that penetrates to rebar or masonry below.
Checklist item: After peak pollen (late April), brush crown clean and inspect for new surface etching or softened areas. Pass: hard, clean surface with no powdery residue. Fail: surface that scratches easily with fingernail, visible pitting, or greenish staining indicating copper leaching from flashing accelerated by acidity.
Oak Leaf Debris in Smoke Chamber (October-December)
Water oak and live oak drop leaves from October through December, coinciding with burning season startup. Leaves enter uncapped flues or gaps around damaged caps, then accumulate in the smoke chamber where they combine with creosote to form dense, flammable mats. We’ve extracted 2-3 gallon volumes from Alpharetta chimneys that had “been swept last year.”
Checklist item: Pre-season inspection must include smoke chamber assessment - visual from below, camera inspection for full evaluation. Pass: clean, smooth surface with no organic debris. Fail: any leaf matter, twigs, or nests; this requires immediate professional cleaning before first fire.
Summer Humidity Effects on Mortar Joints
Alpharetta’s July-August humidity averages 85%+, with dew points that keep masonry surfaces damp for days. This moisture migrates through porous brick and dissolves mortar salts, which then recrystallize as efflorescence or cause subflorescence (salt crystallization behind brick faces that causes spalling).
Checklist item: Post-season inspection must document efflorescence presence and location. New efflorescence indicates active moisture intrusion that will worsen. Pass: no white deposits; dry masonry to touch 48 hours after rain. Fail: any new efflorescence; damp masonry; spalling that exposes fresh brick interior. This condition rarely resolves without addressing source - cap, crown, or flashing failure.
Clay Soil and Foundation Movement
Alpharetta’s expansive clay soils shift with moisture, creating subtle foundation movement that cracks chimney structures differently than freeze-thaw cycles. We’ve documented vertical separation between chimney and house wall in Windward and Crooked Creek neighborhoods where soil moisture fluctuated 30%+ seasonally. The checklist sign: stair-step cracks that align with foundation level, not random masonry cracking.
DIY vs. Professional: Honest Boundaries
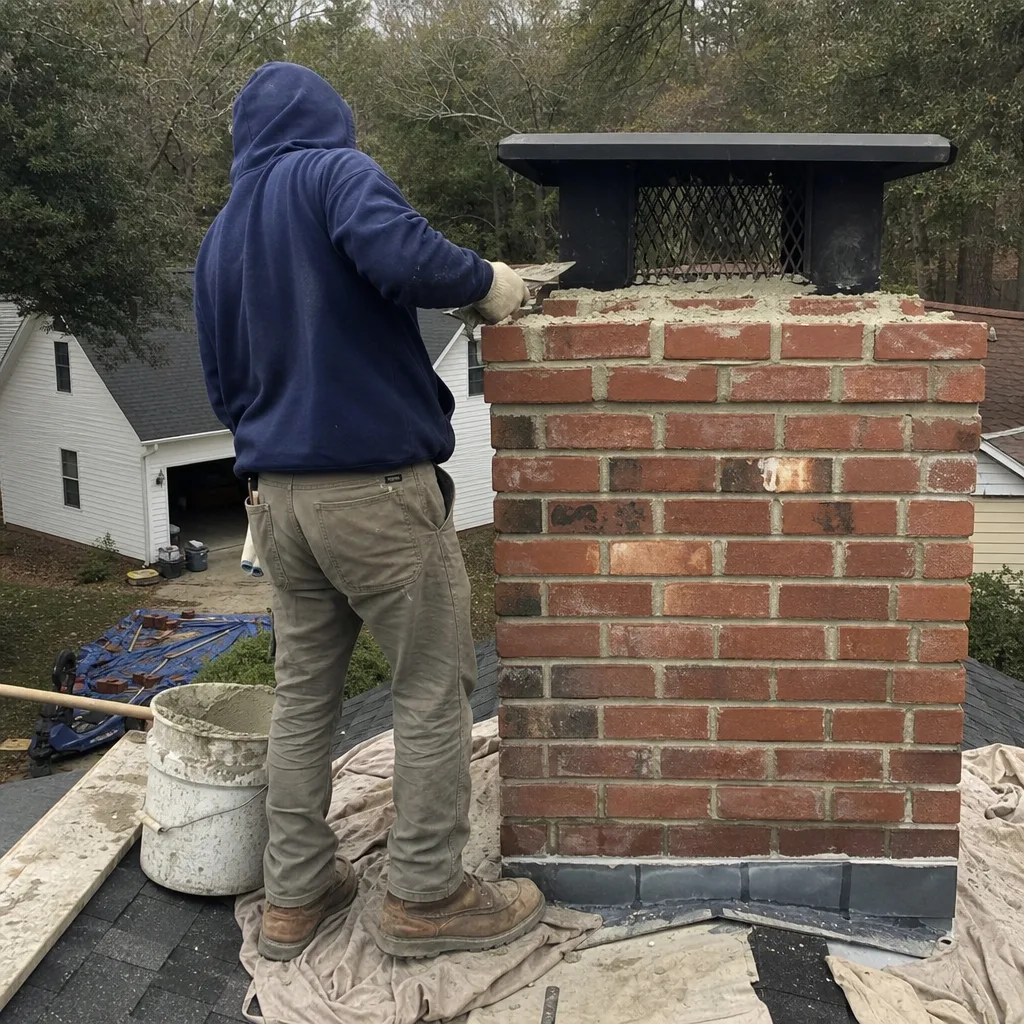
We’re direct about what homeowners can assess and what requires our equipment and training. False confidence in DIY assessment has led to more emergency calls than honest uncertainty.
Homeowner-Appropriate Assessments
- Damper operation and visual condition. No special equipment; tactile and visual criteria above are sufficient.
- Firebox brick and mortar (visible surfaces). Flashlight and inspection mirror from hardware store; no ladder or roof access needed.
- Exterior masonry from ground. Binoculars help; no climbing required.
- Crown and cap from ground. Same; note that cap attachment assessment requires closer inspection.
- Ash management and basic cleanliness. Standard fireplace tools; metal ash container with lid.
- Smoke behavior during fires. Observation only; document patterns for professional if abnormal.
Professional-Required Assessments
- Flue liner condition. Requires video scanning equipment; NFPA 211 Level 2 standard. No flashlight-and-mirror method reveals liner cracks, gaps between flue tiles, or spalling that reduces effective diameter. We’ve found 3-inch vertical cracks in liners that appeared intact from below.
- Smoke chamber evaluation. Requires camera or specialized light; corbelled construction and parging condition are not assessable from firebox floor.
- Creosote classification and measurement. Requires trained eye and proper lighting; Class III glazed creosote is often misidentified as “just soot” by homeowners. Misclassification leads to inappropriate cleaning methods that glaze it further.
- Clearance to combustibles. Requires knowledge of code-specified distances and ability to access concealed spaces; attic and wall framing inspection where chimney passes through structure.
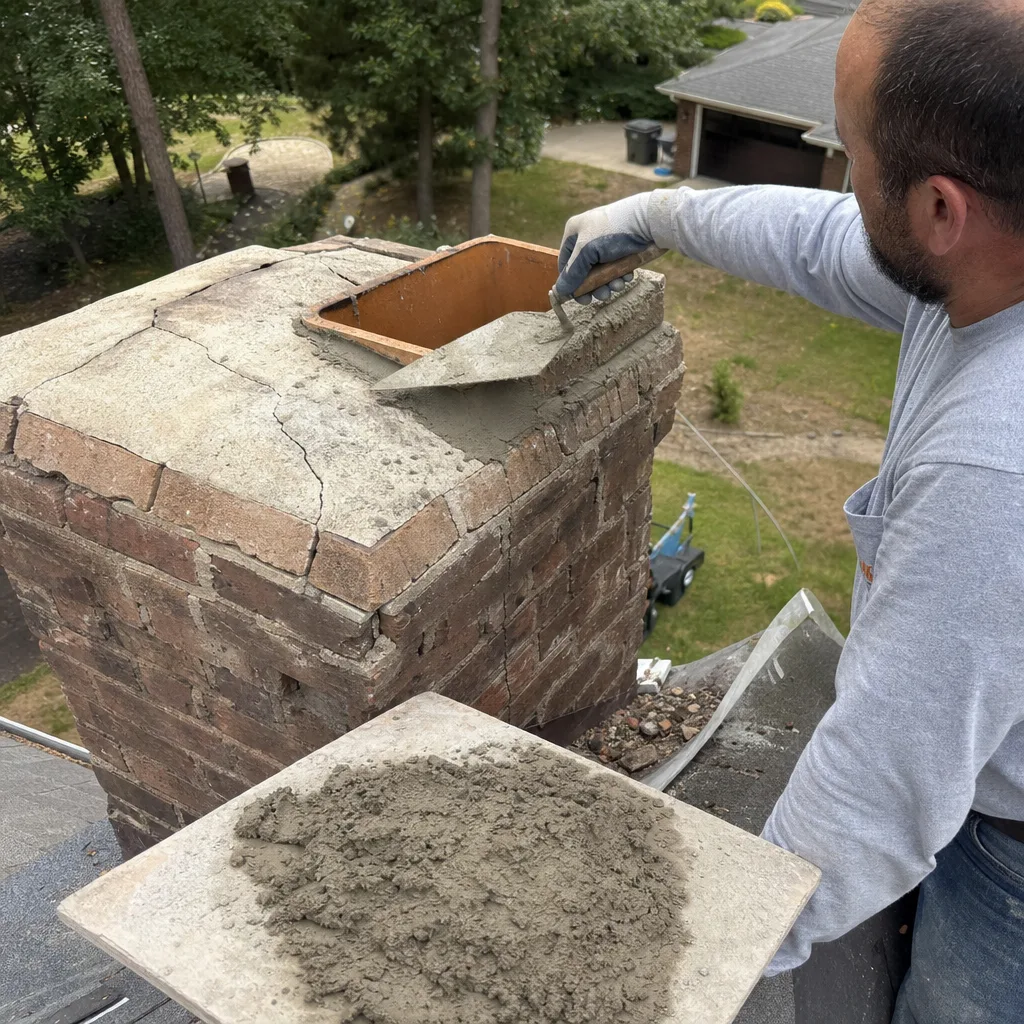
- Cap and crown repair. Requires proper materials and application; DIY crown patches with wrong mortar mix fail within one season in Alpharetta’s climate.
- Any work involving ladder or roof access. Safety consideration; also, improper foot traffic damages shingles and flashing.
The boundary is simple: if the assessment requires interpreting conditions inside a confined, dark space, or if getting to the assessment point risks personal injury or property damage, it’s professional work. Fireplace Services in Alpharetta includes full NFPA 211 Level 2 inspection with every sweep - we don’t consider these separate services because the inspection without cleaning, or cleaning without inspection, is incomplete.
Common Mistakes to Avoid
- Checking “inspect flue” without defining inspection. A flashlight glance from the firebox bottom reveals perhaps 15% of flue surface. We’ve found critical liner damage in the upper third that no ground-level method detects. Define inspection as “professional camera scan” or don’t count it as inspected.
- Assuming annual sweep equals annual inspection. Sweeping removes deposits; inspection evaluates structure. A swept chimney with a cracked liner is still hazardous. The NFPA 211 Level 2 standard combines both - that’s why we include it on every visit.
- Ignoring summer humidity damage. Alpharetta homeowners often skip post-season inspection because “we’re not using it.” Summer is when moisture does its damage. The inspection that matters most for long-term masonry health may be the one in April, not October.
- Using the wrong cleaning frequency for fuel type. Cordwood burning 3+ times weekly: annual sweep minimum. Occasional Duraflame or manufactured logs: every 2-3 years may suffice, but inspection still annual. Pellet stoves: clean venting annually, different creosote profile but still requires inspection. Gas inserts: inspect annually for debris, animal intrusion, and vent integrity; cleaning frequency lower but not zero.
- Documenting without dating or scaling. “Crack in crown” from 2022 is unhelpful in 2024 without knowing if it’s grown. Every photo needs date and scale reference to be useful for comparison.
- Delaying after finding a “fail” item. The checklist creates accountability - use it. A stuck damper in October becomes an emergency when first cold snap hits and you can’t open it for a fire. Schedule repair when found, not when inconvenient.
- Hiring based on lowest price without written scope. In Alpharetta’s competitive market, “chimney sweep” quotes range from $99 to $400+ for superficially similar services. The difference is inspection depth, documentation, and what’s actually included. Clause 1 of the Haven Standard - written price, written scope, written warranty before work starts - exists because we’ve repaired too many chimneys damaged by incomplete prior work.
When to Call a Professional
Call before your scheduled maintenance if: smoke enters rooms during normal operation; you hear animal activity or falling debris in flue; exterior masonry shows new cracks after weather event; any fire produces unusual odor or sound; or your last professional inspection exceeds 12 months. These are not “monitor” situations - they’re “stop use and assess” situations.
For routine maintenance, the pre-season window of August through October offers best availability and prevents the November rush when Alpharetta’s first cold snap creates two-week backlogs across the industry.
Emberly Chimney Cleaners Alpharetta offers free estimates in Alpharetta - call (678) 679-0171. Every estimate includes a written scope, written price, and explanation of what documentation you’ll receive. We don’t start work without your explicit approval of all three.
Frequently Asked Questions
Chimney Sweep in Alpharetta typically ranges from $175 to $325 for a standard NFPA 211 Level 2 service including camera inspection, depending on appliance type, accessibility, and creosote severity. Manufactured fireplace inserts and pellet stoves often fall at the lower end; open masonry fireplaces with heavy buildup or structural concerns may require additional service. We deliver a written price before any work starts - Clause 1 of the Haven Standard - and that price includes the photo record, not an optional add-on. Call (678) 679-0171 for an exact quote; estimates are free.
You need a new flue liner when the existing one is cracked, spalled, or improperly sized for your appliance - conditions we verify with camera inspection, not visual guess. In Alpharetta, we’ve replaced liners in homes from the 1970s-1980s construction boom where clay tile liners have degraded from thermal cycling, and in newer homes where original liners were incorrectly sized for gas insert conversions. A cracked liner allows combustion gases, including carbon monoxide, to enter wall cavities. We show you the camera footage and explain what we’re seeing before recommending replacement; our Free Second Opinion policy applies to any competitor’s liner replacement quote. If the liner is sound, we’ll say so plainly - work that can safely wait, waits.
Annual inspection is the baseline for all active fireplaces and heating appliances; sweeping frequency depends on use and fuel. For cordwood-burning fireplaces used regularly during Alpharetta’s November-March season, annual sweeping is typical. Occasional use with manufactured logs may extend to every 2-3 years, but inspection remains annual. Gas appliances require annual inspection for venting integrity and debris intrusion, though cleaning needs are minimal. The NFPA 211 standard - referenced by most homeowner insurance policies - specifies inspection annually and cleaning as needed based on deposit accumulation. We document creosote thickness and classification during inspection so you know whether sweeping is necessary or can be deferred.
Skipped maintenance leads to three predictable outcomes, ordered by severity and frequency. First and most common: creosote accumulation progressing to Class III glazed deposits, which require more expensive chemical or mechanical removal and increase chimney fire risk. Second: moisture intrusion through degraded crowns, caps, or flashing, causing mortar deterioration, spalling brick, and eventual structural repairs that cost 10-20x preventive maintenance. Third and least common but most severe: liner breach or blockage leading to carbon monoxide intrusion or uncontrolled chimney fire. In Alpharetta’s humid climate, moisture damage accelerates significantly - we’ve documented advanced masonry deterioration in chimneys skipped just 2-3 years. The checklist above prevents all three outcomes by catching conditions before they progress.
A shop vacuum handles ash and loose debris from the firebox but cannot remove adhered creosote from flue walls or assess liner condition. More critically, standard shop vacuums lack HEPA filtration for fine particulate and proper grounding for combustible dust - creosote particles are both flammable and carcinogenic. For firebox cleaning between professional services, a HEPA-rated ash vacuum is acceptable. For flue cleaning, rotary equipment and proper protective equipment are required; this is professional work. The real risk of DIY “cleaning” is the false confidence it creates - a brushed-looking flue with hidden liner damage or residual Class III creosote is more dangerous than an obviously dirty one that prompts professional attention.
A Level 1 inspection is visual, accessible-surface examination - appropriate for chimneys with unchanged conditions and continued same-use. A Level 2 inspection, required by NFPA 211 when property changes hands, after chimney fire or seismic event, or when appliance type changes, includes video scanning of internal flue surfaces, attic and crawl space access for clearance verification, and documented photo record. Emberly Chimney Cleaners performs Level 2 as our standard on every visit - we don’t consider Level 1 sufficient for the documentation homeowners need for insurance, resale, or their own safety verification. The camera scan reveals conditions no visual method detects; that’s why we made it standard in 2009, years before it became industry expectation.
The Bottom Line
A chimney maintenance checklist works only when each item has a defined passing state and honest boundaries about who can assess it. This guide gives Alpharetta homeowners the criteria to self-assess visible components, document findings usefully, and recognize when professional camera inspection is required. The seasonal structure - pre-season, mid-season, post-season - matches Alpharetta’s actual burning calendar and addresses local conditions from pollen acidity to oak debris to summer humidity degradation that generic guides ignore. Execute the checklist faithfully, and you’ll catch conditions when they’re manageable. Skip the criteria, and you’re checking boxes while missing what matters.
Written by Corrine Halstead, Owner at Emberly Chimney Cleaners Alpharetta, serving Alpharetta since 2009.